Rotator
The Rotator tab lets you connect an ASCOM-compatible rotator. A Manual Rotator option is also available.

- Rotator information
- Reverse the direction of the rotator (if available). Enable this option when the rotator moves in the wrong direction during centering and rotation. This is required, for example, on setups like a Hyperstar where the horizontal image axis is flipped.
- Move the rotator to the selected angle
Note
The rotator angle will be synced to the sky angle after centering and rotation and will display the sky angle instead of the mechanical angle.
Manual Rotator#
Manual Rotator is a very useful tool for setups that do not have a motorized rotator but still want to be able to match the framing angle as defined in the Framing tab.
To enable manual rotator you must:
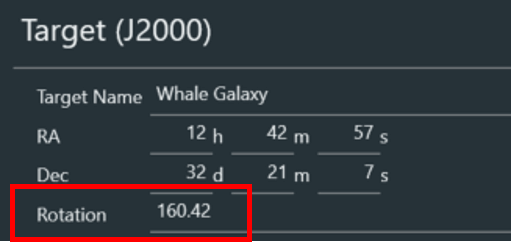
- Define a Rotator Tolerance in Options -> Plate Solving
- Connect the manual rotator in the Rotator tab
- Frame your object in Framing and Add as Sequence Target
- Enable Rotate Target in the legacy sequencer or use the Slew, center and rotate instruction in the advanced sequencer
- Start the sequence
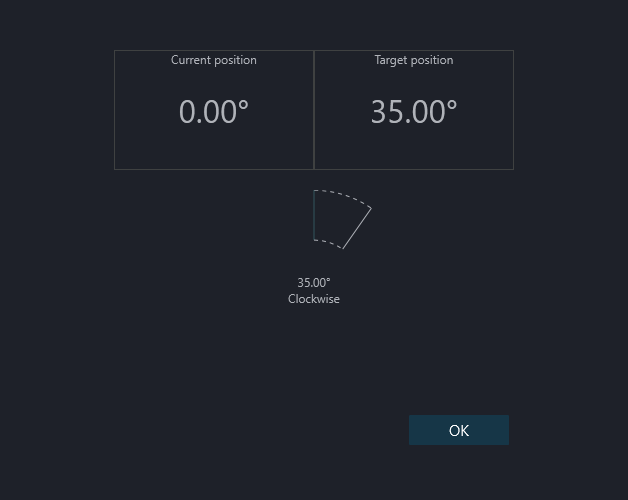
Once the sequence is started and the mount has finished slewing to the target, N.I.N.A. will perform plate solving to determine the current framing coordinates and rotation angle. If the difference between the angle determined by plate solving and the angle specified in Sequence -> Rotation is above the Rotator Tolerance, a pop-up will appear indicating the degrees and direction you need to rotate the camera. Rotate the camera and close the manual rotator window, and a new plate solve will be performed. If the angle is still above the Rotator Tolerance, the process will be repeated.
Tip
If you want to set camera rotation before starting the main imaging sequence, you can use a dummy sequence with a 1s exposure to start the manual rotator.